|
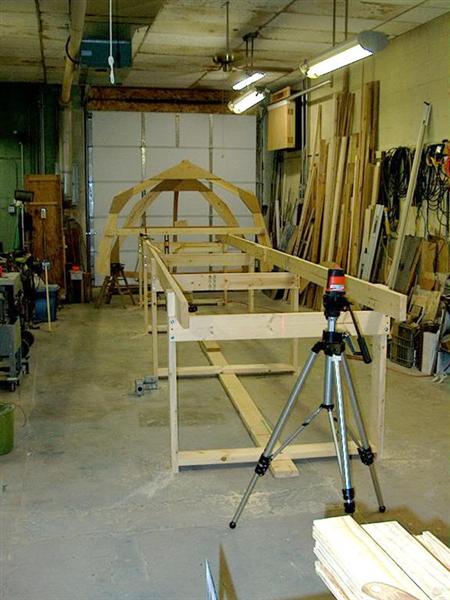
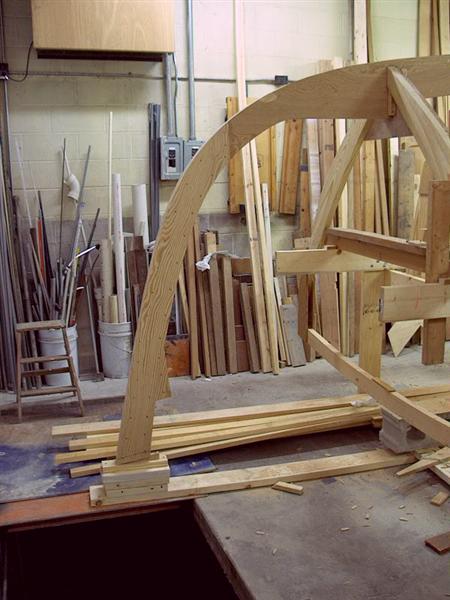
The hull is built inverted on a fixture constructed from 2"x 6" and carriage bolts. It was also bolted to the concrete floor to prevent movement.
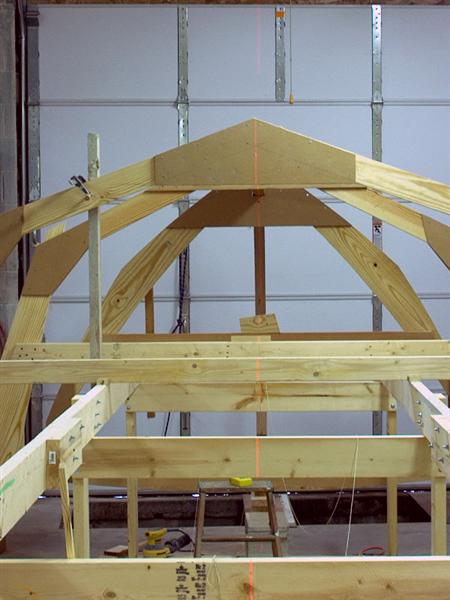
Here I used a fairly inexpensive Black & Decker laser to align the frames. I have two of these - one that shoots a level crosshair and one that projects a 360 degree level line. I have found both to be more than accurate enough for this project and very useful. I recently saw this unit for $20 at a local farm supply store.
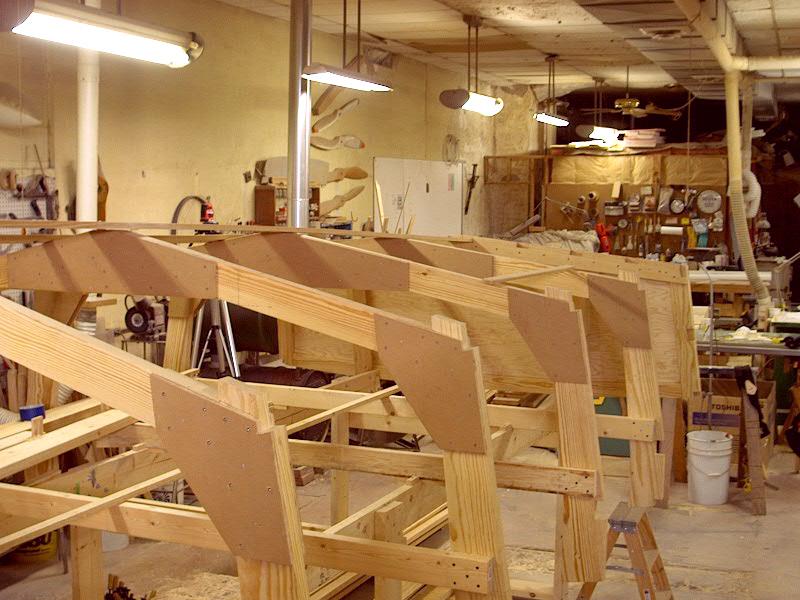
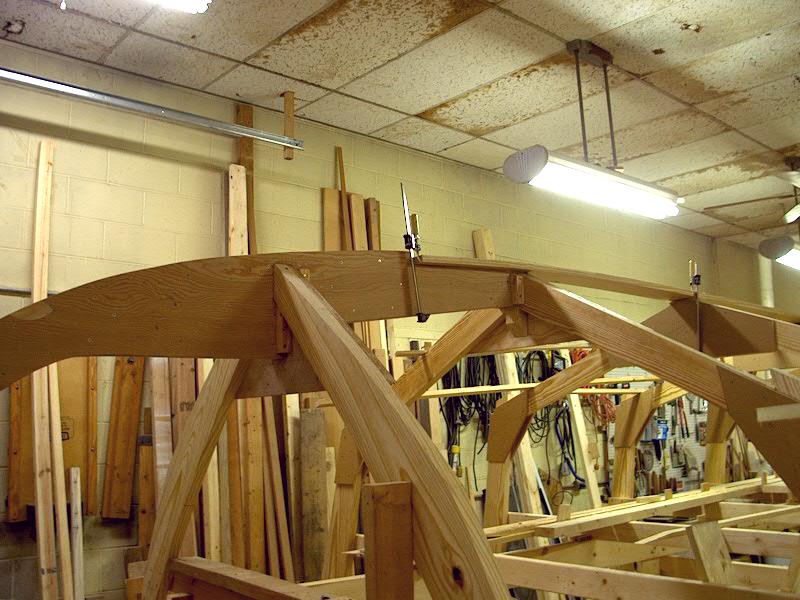
Although my shop is good size a 27' hull ate up a good piece of it's real estate. I also had to replace the 7' high overhead door in the back of the shop, cut out a larger opening in the concrete block wall and install a 10' x 10' door to someday allow a graceful exit.
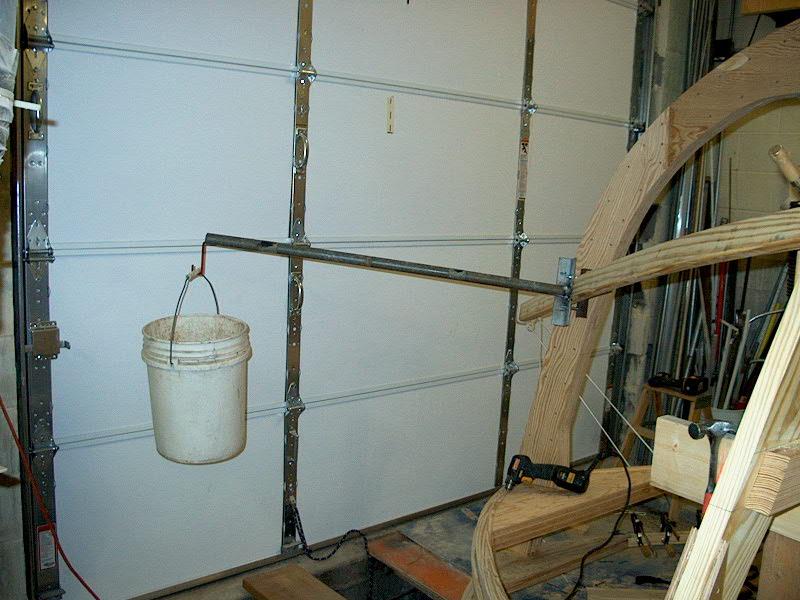
Above is the crude device I fabricated to help bend the chine logs. They are extremely stiff and must be bent down and in plus twist all at the same time. I welded a scrap piece 2" angle to the bottom of a piece of pipe and used bolts to make it clamp around the log. Stuck a hook into the end of the pipe and hung a five gallon bucket. By adding water I could control the amount of force applied to make it twist and somewhat pull it down. I used a rope clamp (white lines in front of stem) to pulled the log into place.
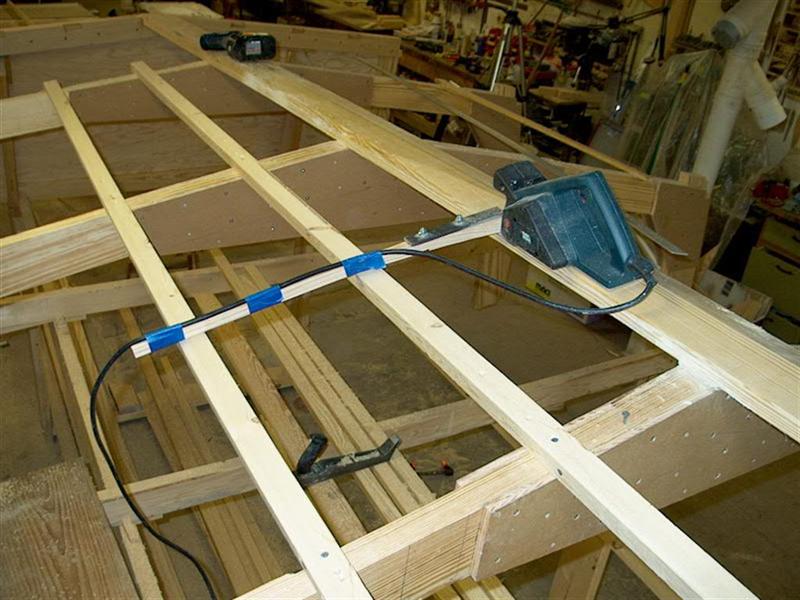
Both my power planes have a hole in the nose to accept an edging guide. I fabricated a piece if 1/4" steel bar to slide and lock into this hole and attached a long wooden stick. The stick was sized to be level with the bottom of the plane and served as a guide when fairing the battens and logs. I made 3 of different lenghts to work within various situations. I did most all the fairing this way and don't think I ever drug out a hand plane. I know that's blasphemy!!! But it was easy and quick with the biggest problem watching to prevent too much material from being removed. Sure made a lot of shavings. Did use the Surefoam planer sitting below to relieve edges.
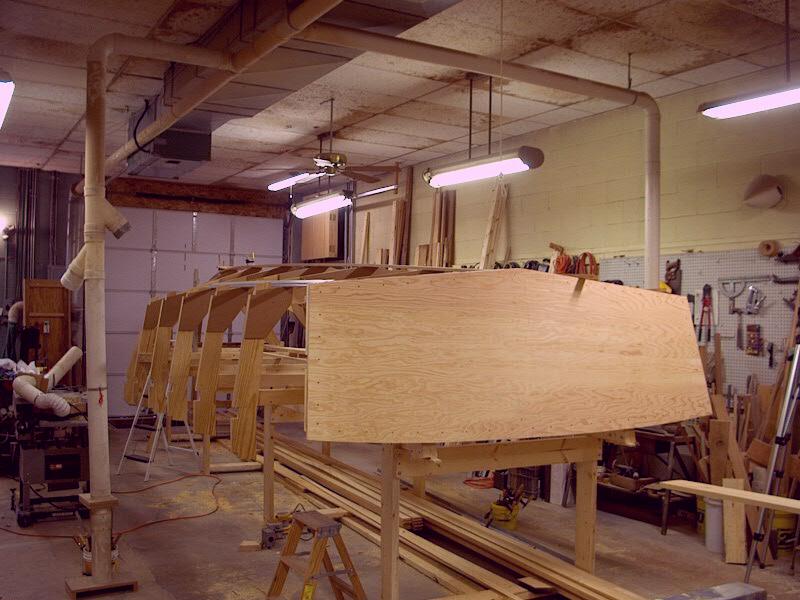
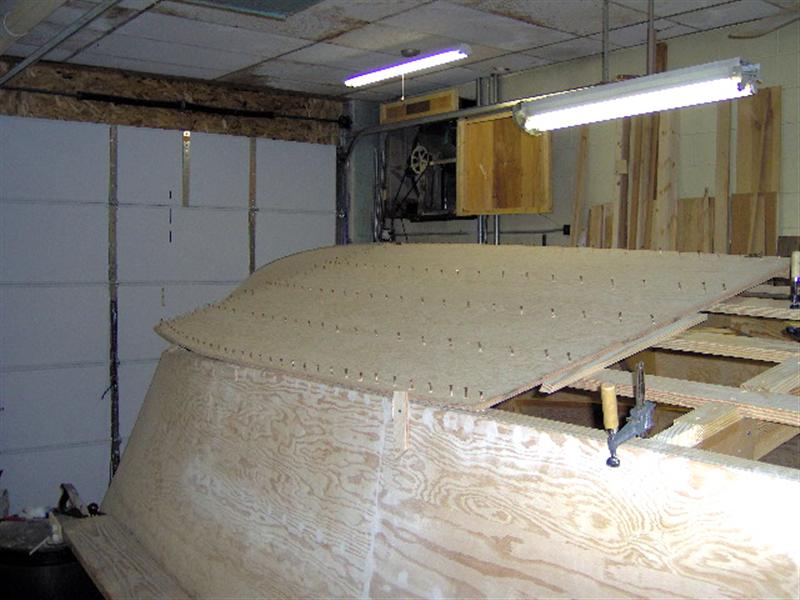
Adding the plywood planking at the stem was a chore. There was no way I could see that 1/2" would make the bend so two layers of 1/4" was used. I then transitioned to 1/2" (butt joints throughout). Above you can see the the sheet ready to be applied. All holes were drilled and countersunk and screws were inserted into the holes to save time. I was using PL Premium (yes, blasphemy again!) and the open time is short in warmer temperatures so working quickly was a must.
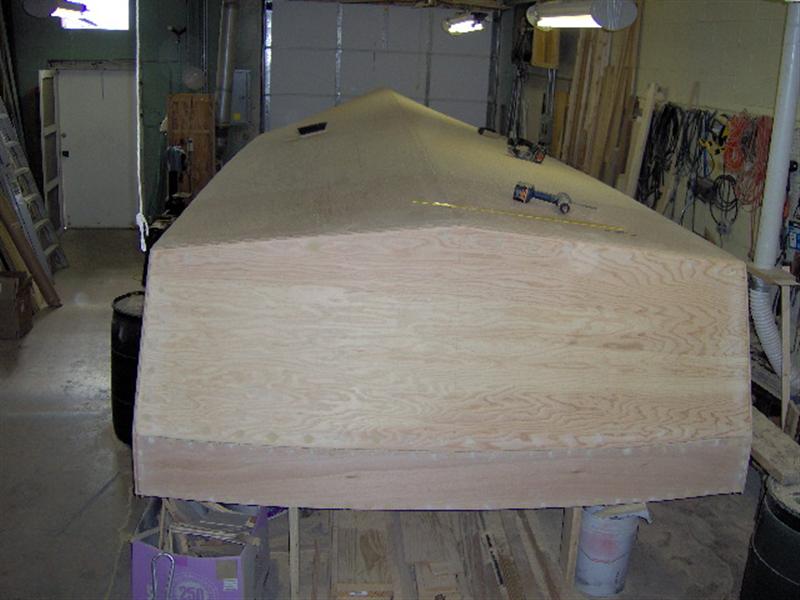
See, nothing to it! A 27' hull ready to glass.
|