|
I looks like I have things a little out of sequence here but don't feel it confuses the issue much. Also, because of the confind space wide photos of the berth are not possible.
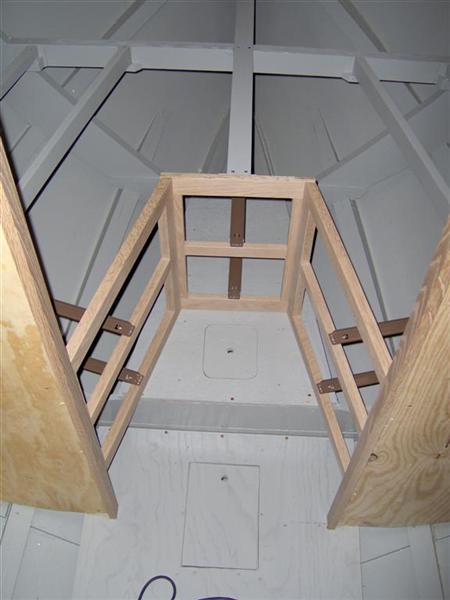
With the soles in place I decided to start roughing out the berth. The plans called out the height and here the 360 degree laser level helped a lot. I set it up and it "painted" a line all the way around where the berth top would meet the angled hull interior. Slick! The forward bulkheads were added and the I started sorting through how I wanted the storage to work out. Although at 27" the True Grit is a good size boat it is still small for a long distance trawler. The plan is for two us to use it for extended trips. In order to both be comfortable certain amount of "stuff" is required onboard. And my wife seems to require much more "stuff" than I do. Because of this I have decided to take the time to build in a much storage as possible. Here I have framed out the six drawers below the berth. The two cut-outs in the soles are for access to the bilge pumps. This is the deepest part of the hull and where bilge water will settle.
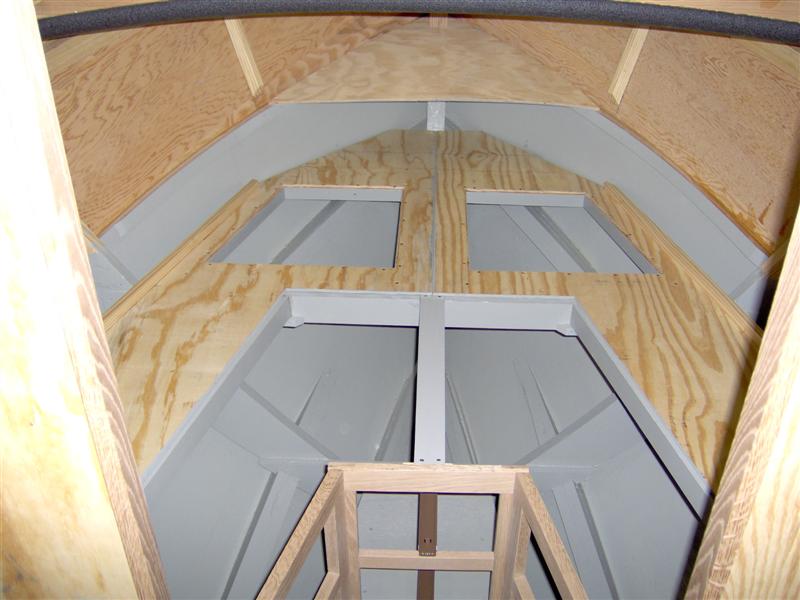
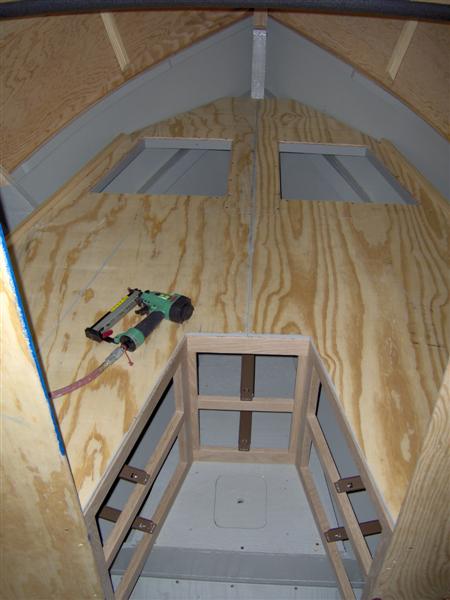
HereI have adde part of the bunk top. I decided to make the inter pieces of plywood removable to allow access the the drawers if modification was needed in the future. The black arch across the top is a piece of foam pipe insulation I temporarily added because I kept smacking my head on the beam.
The inner piece is now added. The holes closer to the stem will allow bulk storage in the forward bow area. As I began the more detail work I started using my air stapler and brad nailer. Much quicker than screws or nails and I see no problem using them in non high stress areas. I have stainless brads and staples so rust should not be a problem.
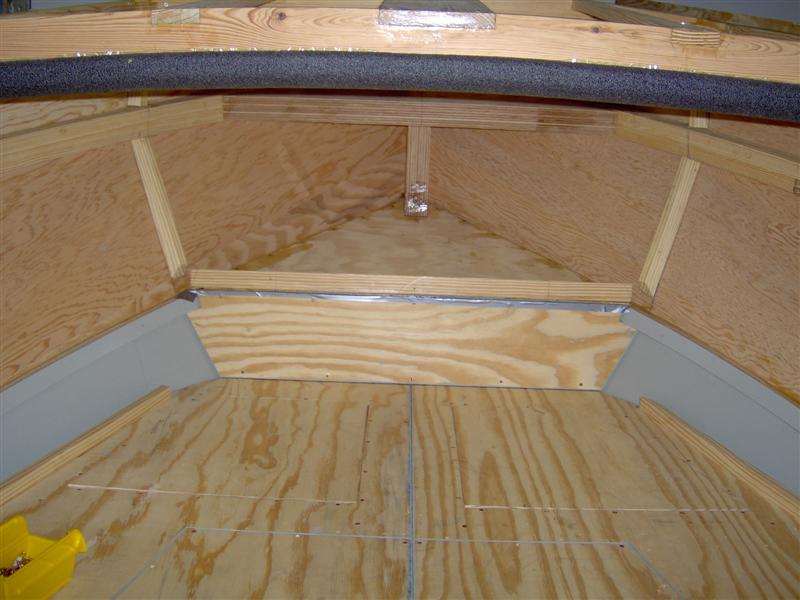
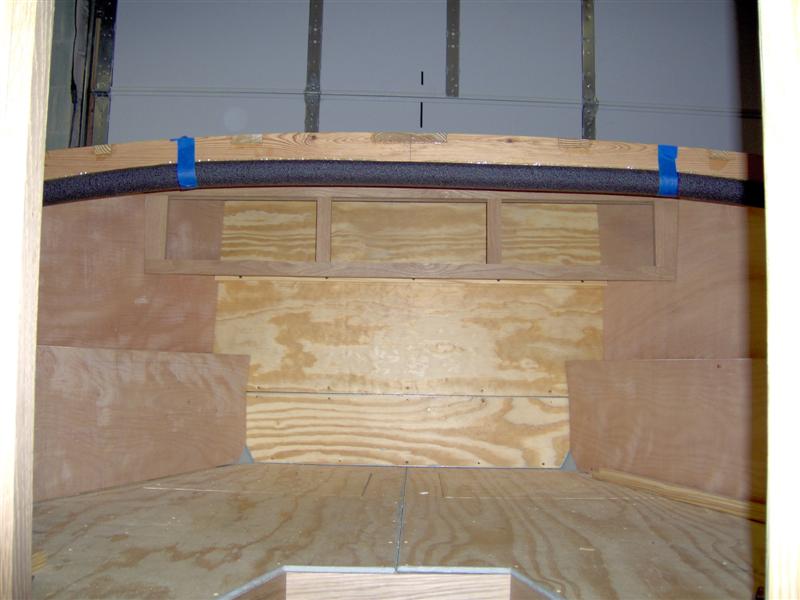
In the very forward section I boxed out a rode locker for the windlass. The lower bresthook is just below the pipe insulation.
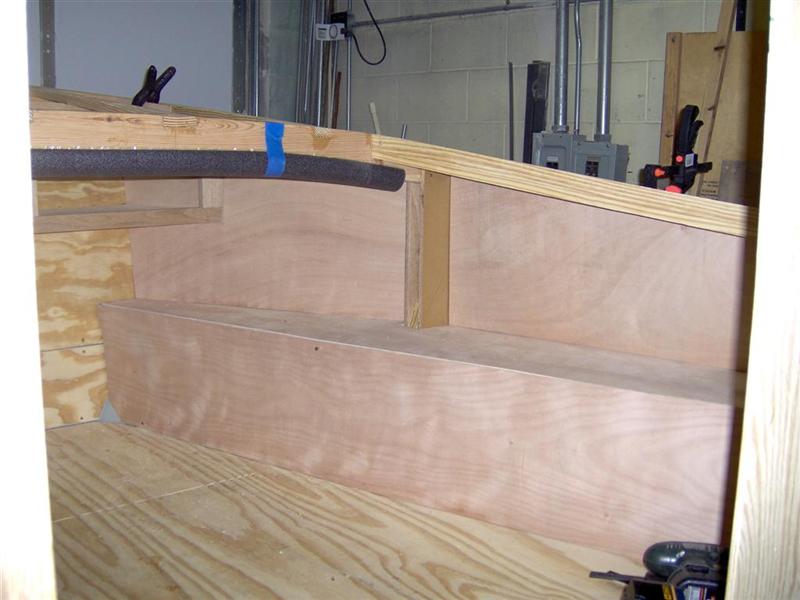
Here the anchor rode locker is now totally enclosed and I have fabricated the oak frame for a storage cabinet mounted up high. It will have three sliding doors. On the sides of the bunks I have framed out two shelves which will also have storage below.
A better shot ot the side shelf. As you can see the berth trunk top and sides were still not in place at this point. This is where I an out of sequence.
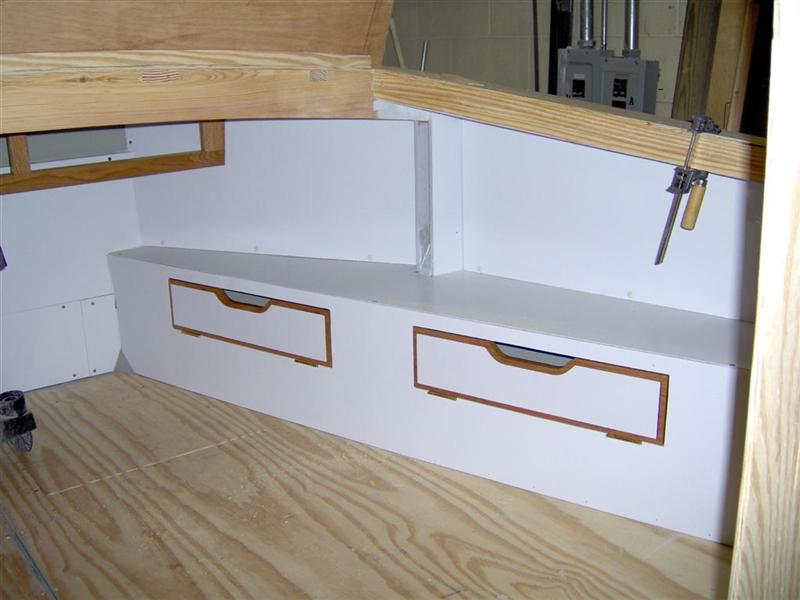
I have now added the storage access to the shelves. I invision these as lockers for dirty clothes. There is actually a third door to the right but it is obscured by the bulkhead. I have decided that I am going for a mostly solid white interior with stained oak trim. I just like the clean bright look of it. Although there will be a lot of bright work on the interior I plan next to none on the exterior. Just don't want the maintenance.
Here is one of the drawer fronts that will be below the berth.
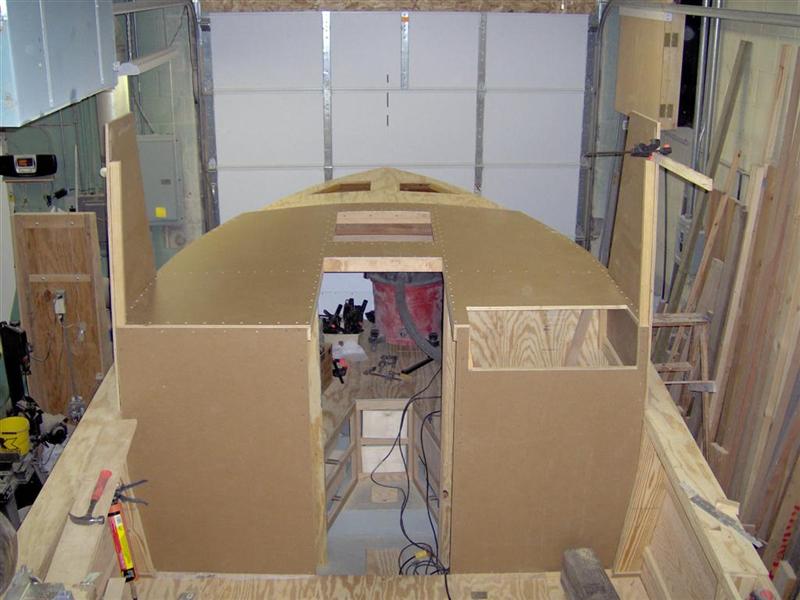
And here is a photo with the berth trunk added as well as the helm bulkhead. As you can see starting to use more MDO.
|